How To Install Rings

Cody Meeks
I am a part of our onsite engineering department. I have a passion for the automotive industry and I am an expert in all things engine. I have been a part of the Enginetech team for 5 years.
Hello Enginetech friends! Hopefully you have read the last blog on piston rings and how to select the appropriate rings for your vehicle. Now, it’s time to load those rings onto your piston. The first step is to identify the rings to ensure that they go into the correct groove and in the correct orientation.
Tips For Easy Ring Installation
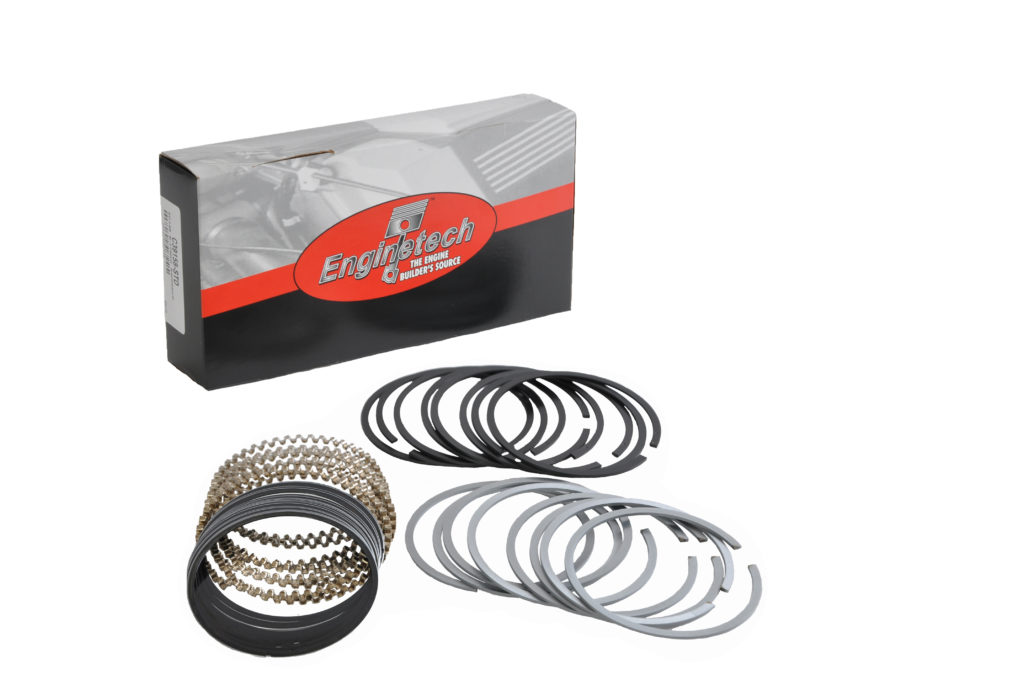
Most of our ring sets come with three rings per piston. Likewise, the ring box separates and clearly marks the rings by which piston groove they belong to. So do not just dump the box out into a pile. Separate your piston rings into groups at your work station to ensure that you do not install your rings into the wrong groove.
Recent Posts
- Is Hydrogen Combustion the Engine of Our Future?
- Driving Habits to Save Gas Mileage This Summer.
- Benefits of Choosing a Local Repair Shop
- The IEA predicts EV’s to make up only 15% of new car sales in 2030, contrasting with the Biden Administration’s 67% target. Are we Surprised?
- Great Customer Service Begins with Knowledge
Categories


Also, pay attention to bevels and dots/top marks because this will let you know which side of the rings should be oriented towards the top of the engine. The general rule is that bevels go down and dots/top marks go up.


Note, that the word “TOP” does not mean that this is a top ring! But rather, that side of the ring should face the top of the engine. There are exceptions to every rule and you should always read the installation instructions that are included with every set.

Installation
The expander portion of the oil control rings should be the first piece that you install. It goes into the 3rd groove of the piston. Our expanders are designed so that they do not overlap and are very simple to install. Just spread them apart by hand and align it into the groove.

Next, you will want to put one of the oil rails on the bottom side of the expander. The rails are flexible and can be installed by hand, placing one end into the groove and “spiraling” it around the piston until it sits in the groove. Be sure to pull it far enough away from the piston to not scratch the crown. Repeat this step for the second rail, installed above the expander.

You never want to spiral the compression rings as they can distort and then not function properly. After installing the oil control ring, you will install the 2nd ring into the 2nd groove using a piston ring installation tool, making sure that the dot/top mark is facing towards the top of the piston. Spread the ring far enough apart to go over and not scratch the crown of the piston, but not too far to damage the ring.

After you install the 2nd ring, you can install the top ring into the first piston groove using the same technique. Many of our top rings are a square cut, allowing you to face either side towards the top. Check the rings and instructions for any indicators of direction as there are exceptions.
Final Steps
Now you have your rings loaded onto your pistons, you have one final step. Ensure that your end gaps are staggered and not all line up. This will prevent any leakage of oil or gases and ensure that your rings are working properly.

Thanks for reading and we hope that this helps you with your rebuild. Keep an eye out for our next blog article.